Publisher guidelines: Image template
Getting started
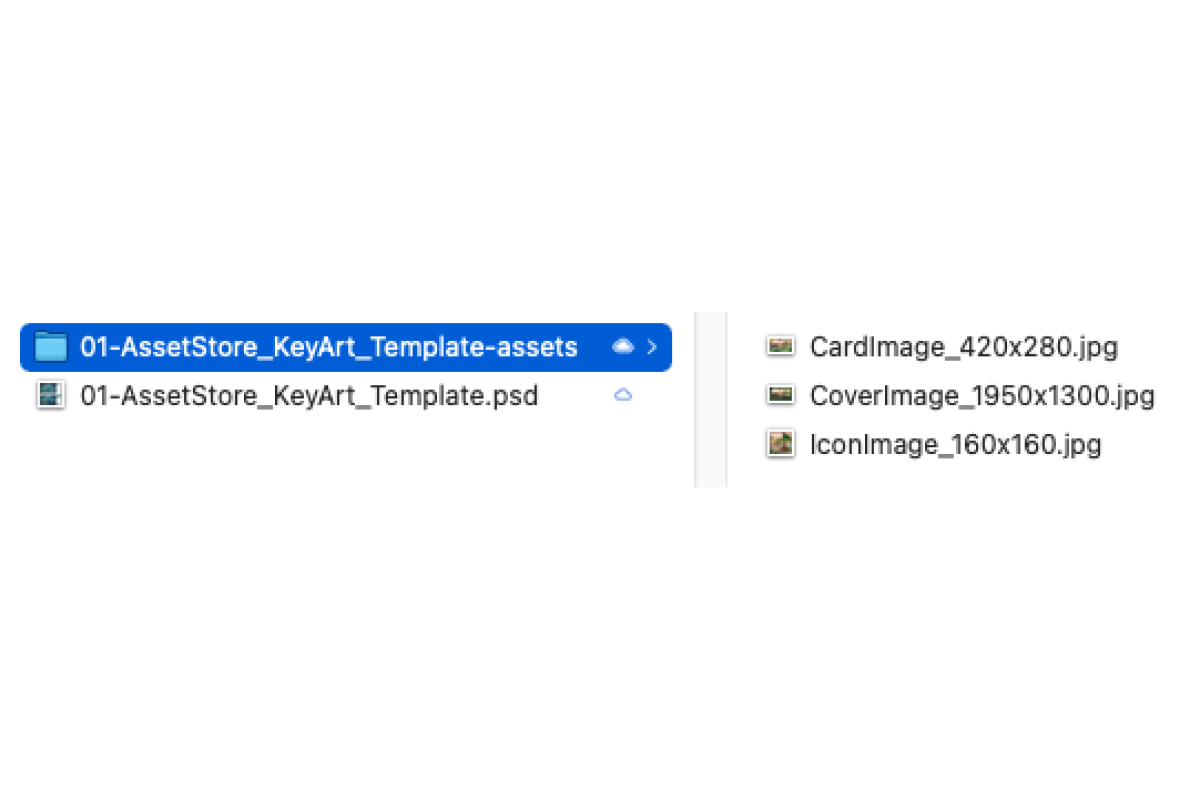
To help you get your asset online more easily and ensure it’s looking its best, we’ve developed a simple PSD template. All required versions of your images can be exported for this file. The file should work in free Photoshop alternatives as well, though not all aspects may function the same way.Images
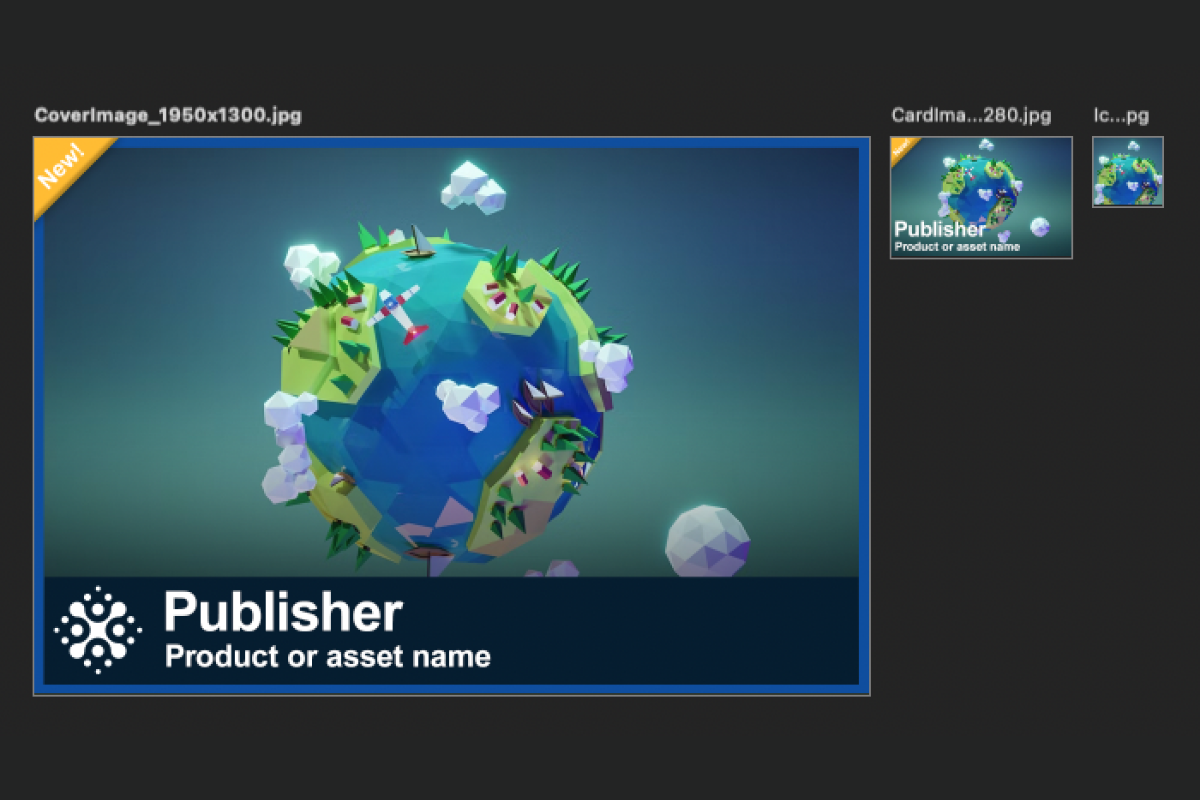
Cover image 1950x1300
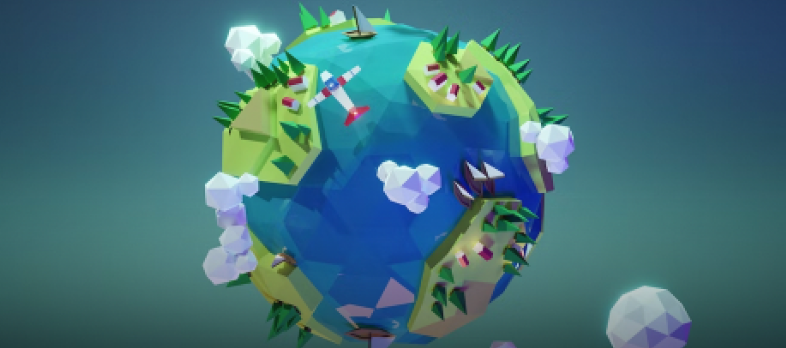
This is the first image that by default appears on the product description page when a video is not uploaded. Think of this as your hero image.
Card image 420x280
This is what appears on category pages, favorites, and product cards throughout the Asset Store.
Icon image 160x160
This image appears in the cart, mini-cart, and the My Assets, Saved for Later, and Favorites pages.
Using the template
Open the file
You’ll notice artboards for your hero key art and placeholder for your logo (optional) at the top, and artboards for your cover, card, and icon images below.
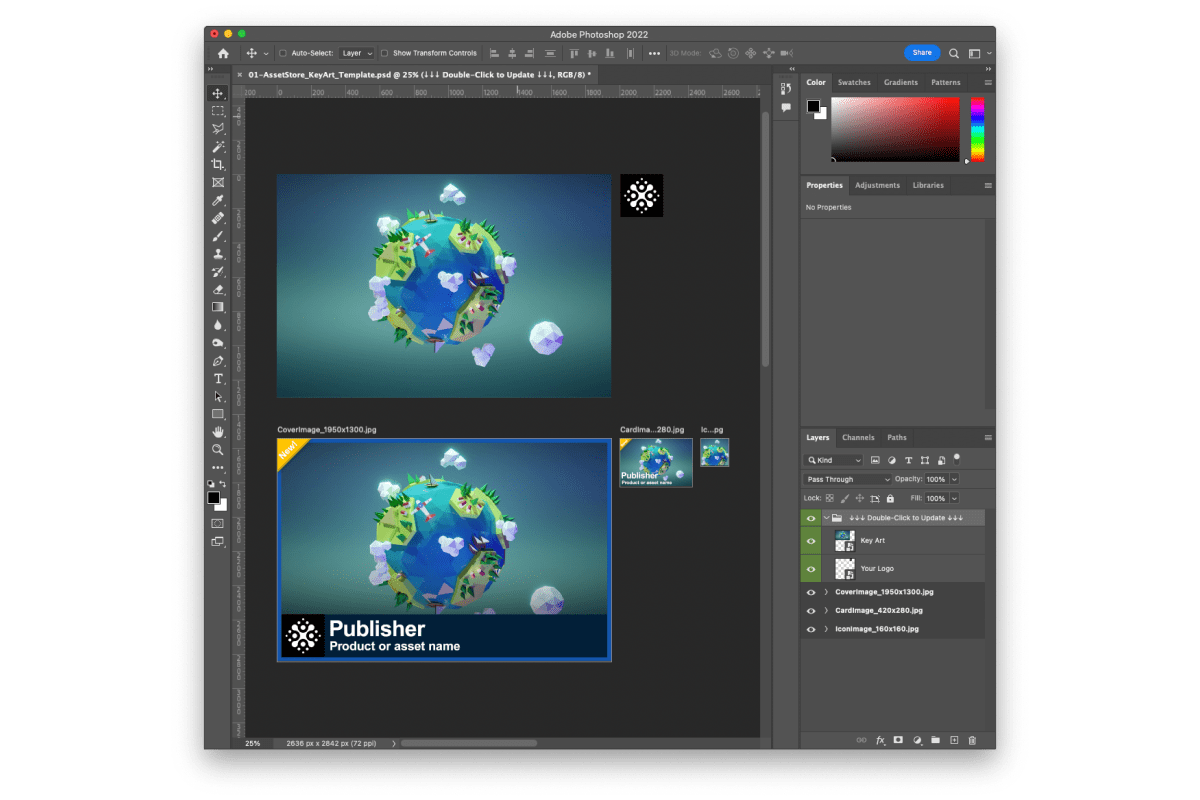
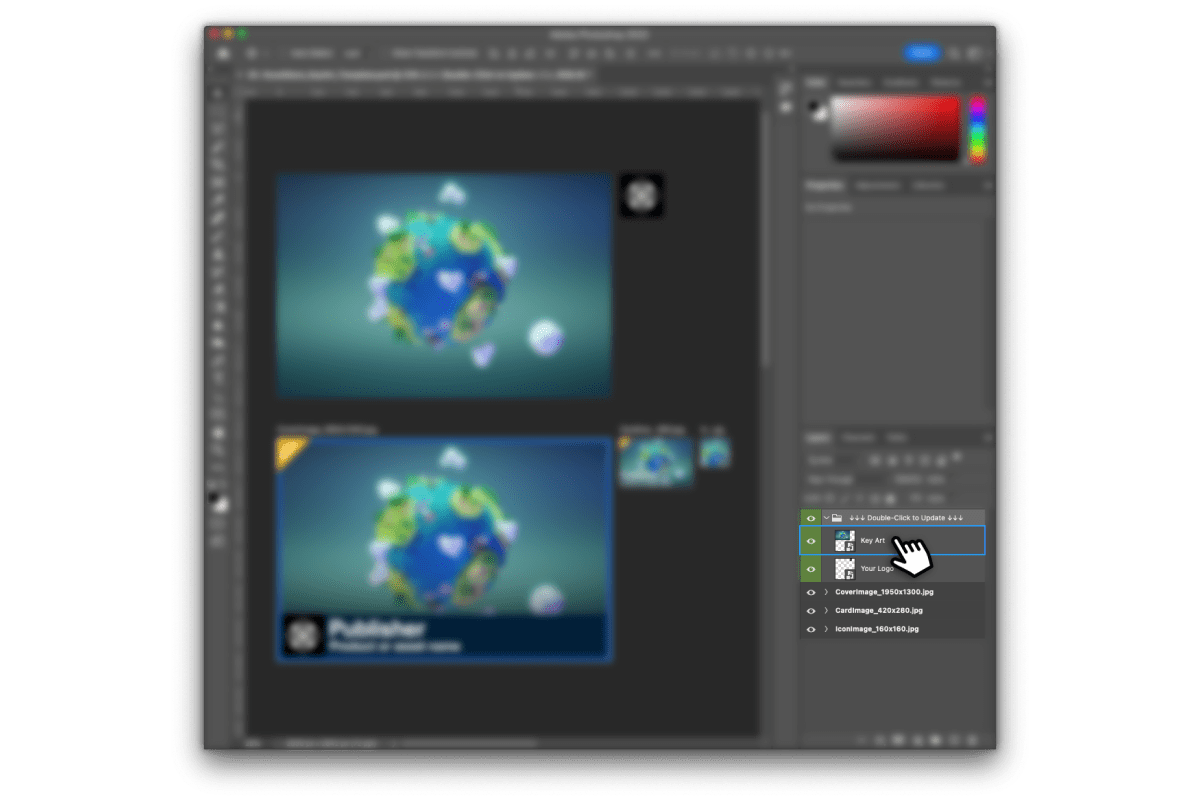
Updating your key art
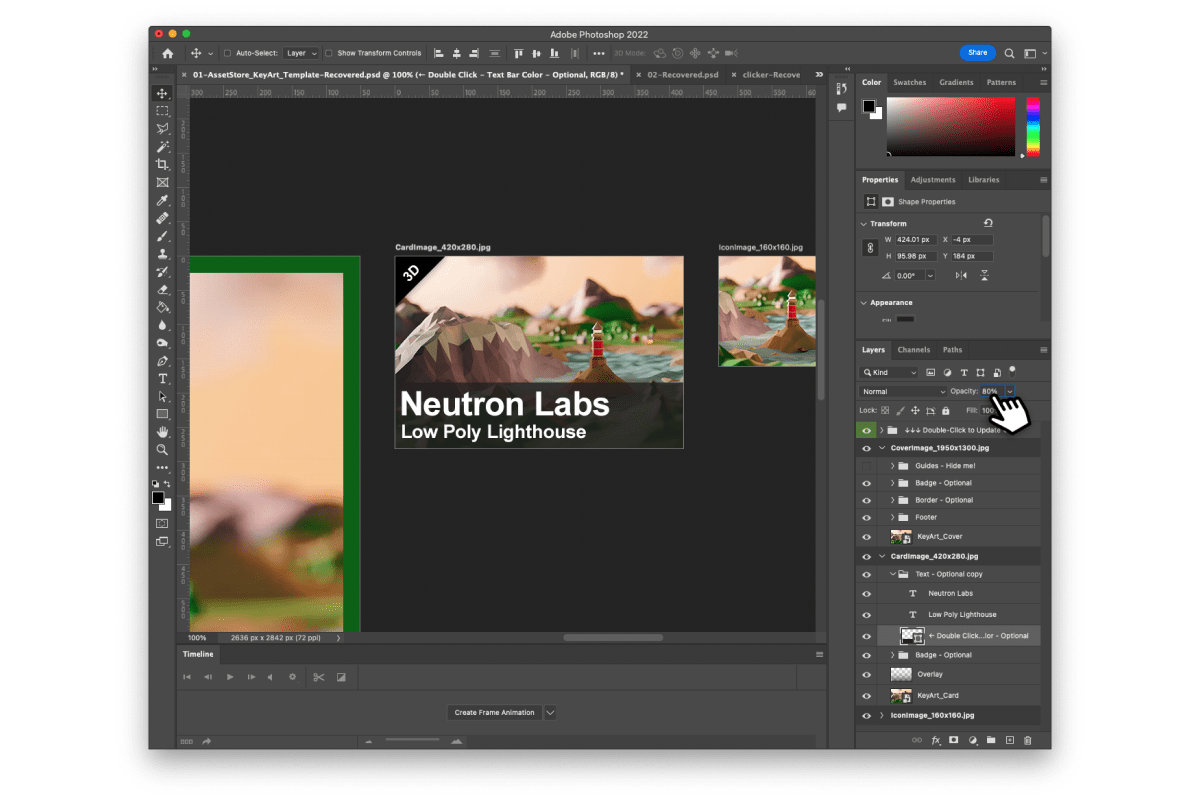
Open the group named: ↓↓↓ Double-Click to Update ↓↓↓
To update either the Key Art or Logo layer, you’ll need to double-click on the layer to edit. Editing this layer will update your cover, card, and images accordingly.
After double-clicking, a new tab will appear and you can edit your key art. Replace the existing image by either copying and pasting your key art image, or dragging and dropping it into the group. Use the guides to help compose your image.
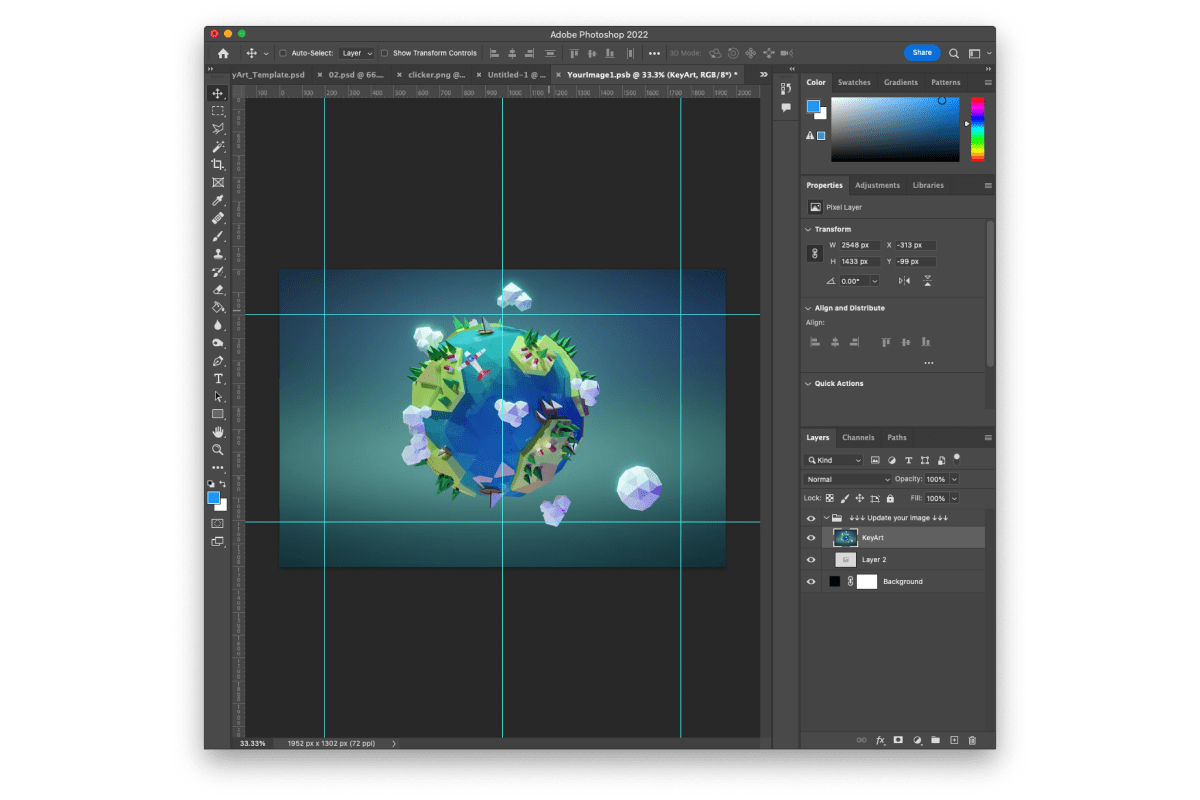
When you’re happy with the results, save and close the tab.
Your image should now be updated across all formats.
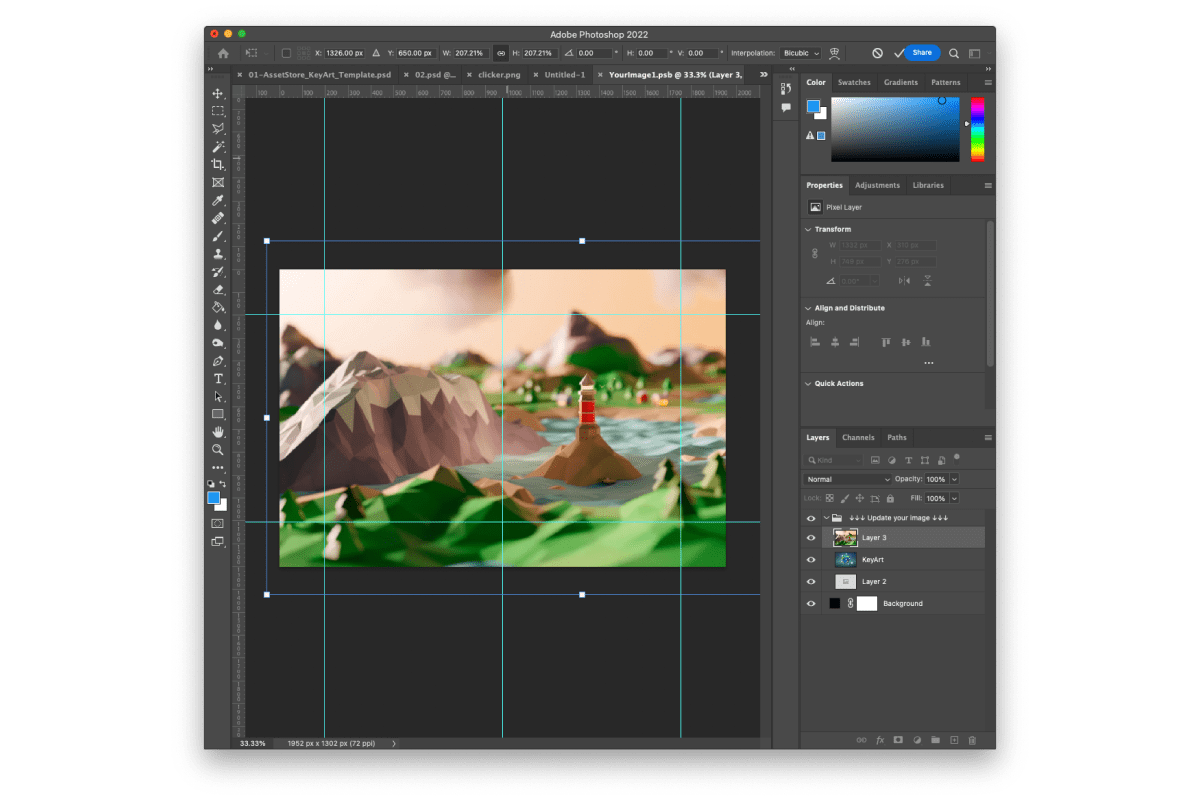
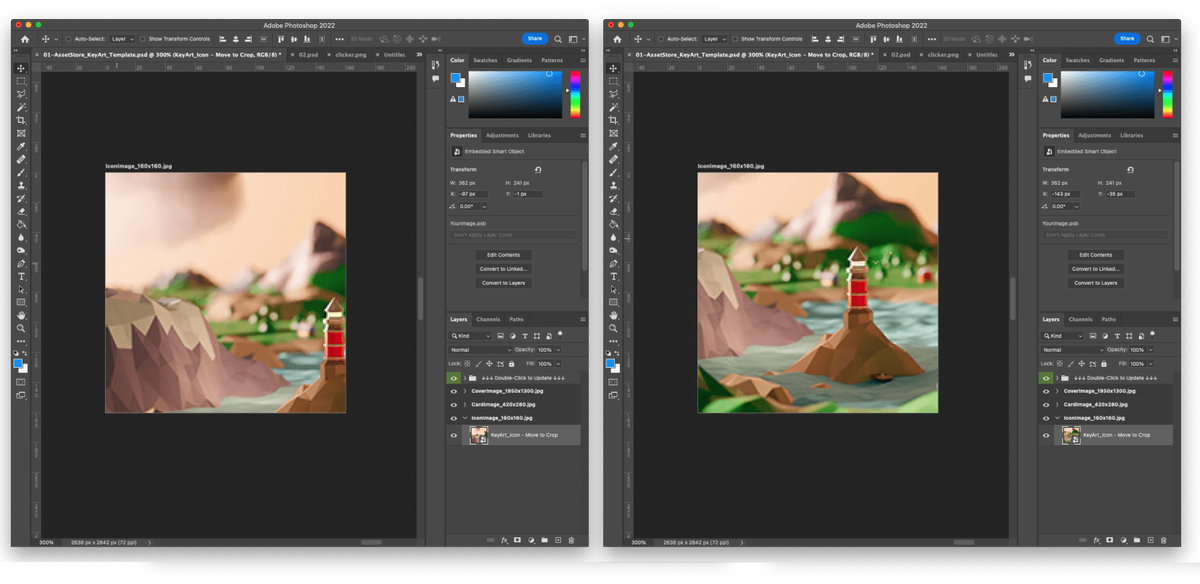
In some cases, you may need to reposition your image to optimize your focal point. In this example, the icon image needs to be re-centered to focus on the lighthouse. Navigate to the layer in question, locate the “KeyArt” layer, and reposition with the Move tool.
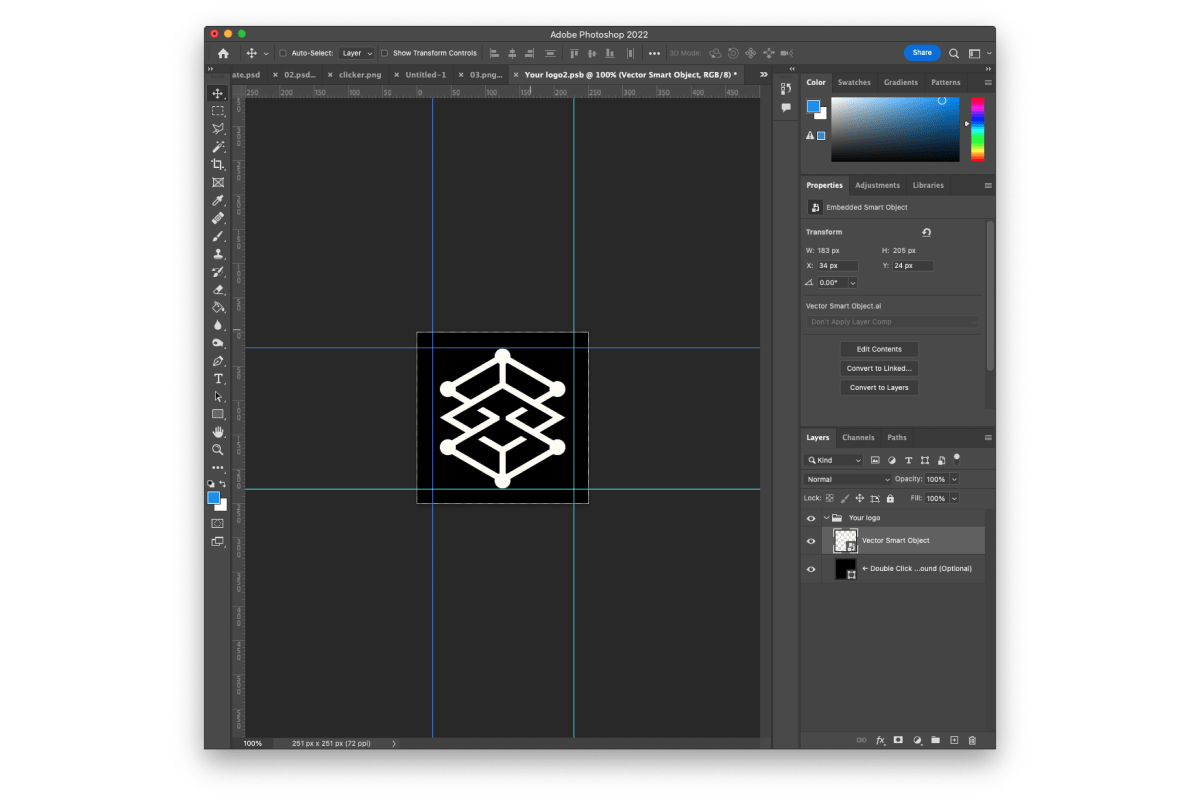
Updating your logo
Open the group named: ↓↓↓ Double-Click to Update ↓↓↓
To update your logo, you’ll need to double-click on the layer to edit.
Replace the placeholder with your own logo. Use the guides to help position your logo.
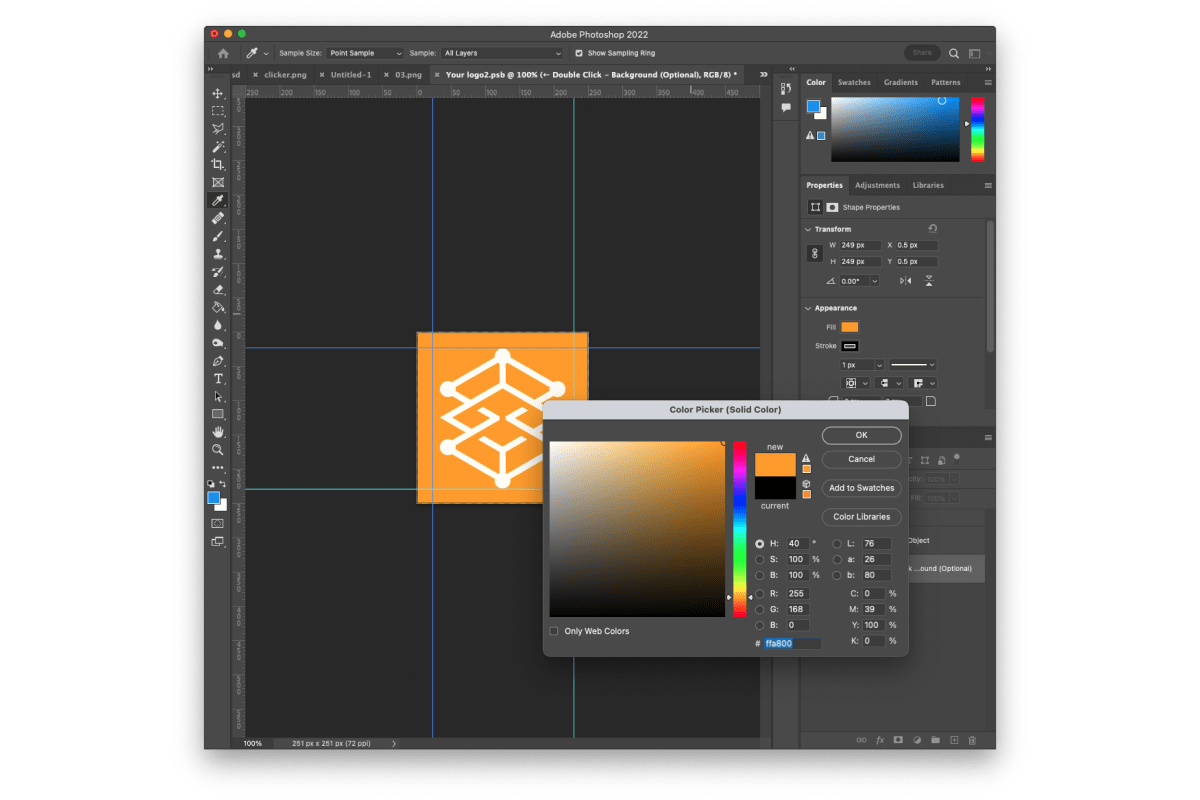
There is an optional background layer you can hide by clicking the “eye icon” or customize with your own brand colors by double-clicking on the layer.
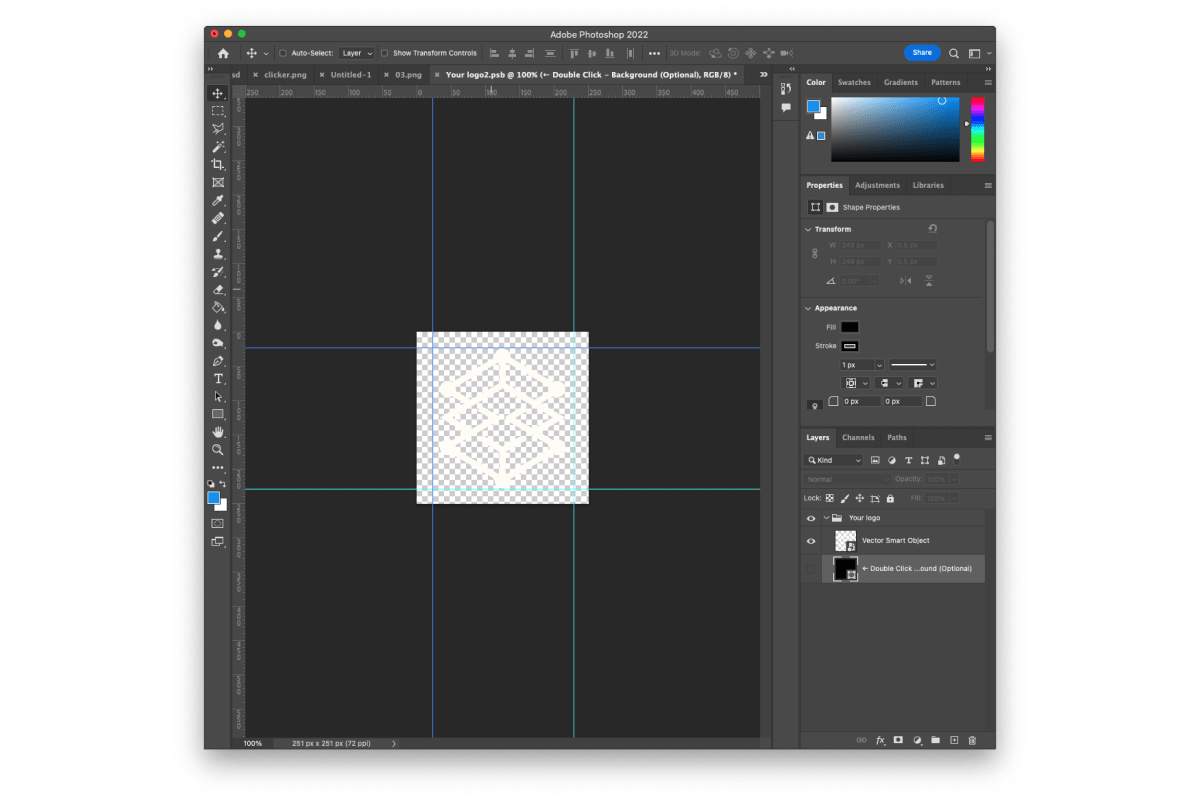
When you’re done, save and close the tab.
Customizing your cover image
This is your hero image, which means there is an opportunity for customization. Layer groups are organized into badge, border, and footer. Within the footer, you have placeholder text, logo, and background. Every element is customizable, but also optional, so combine these as you wish.
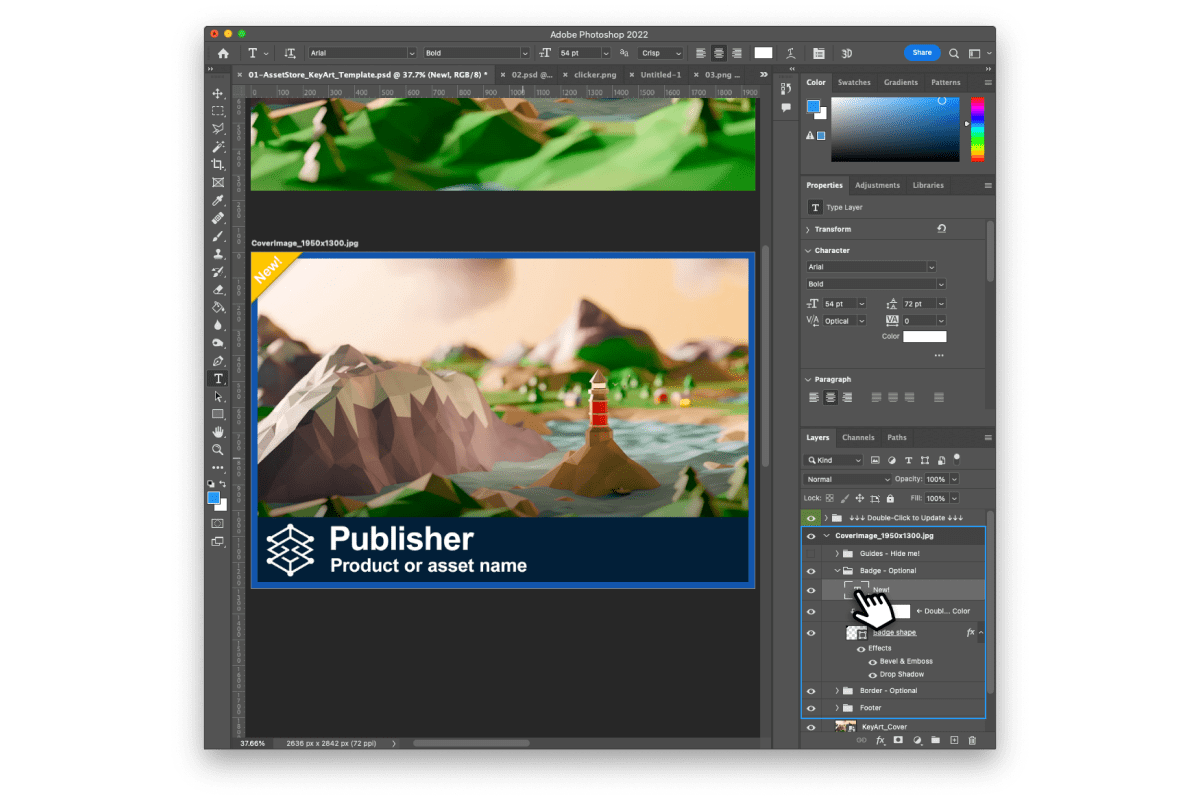
Badge
You can hide the badge by clicking on the “eye icon” if you choose not to use it.
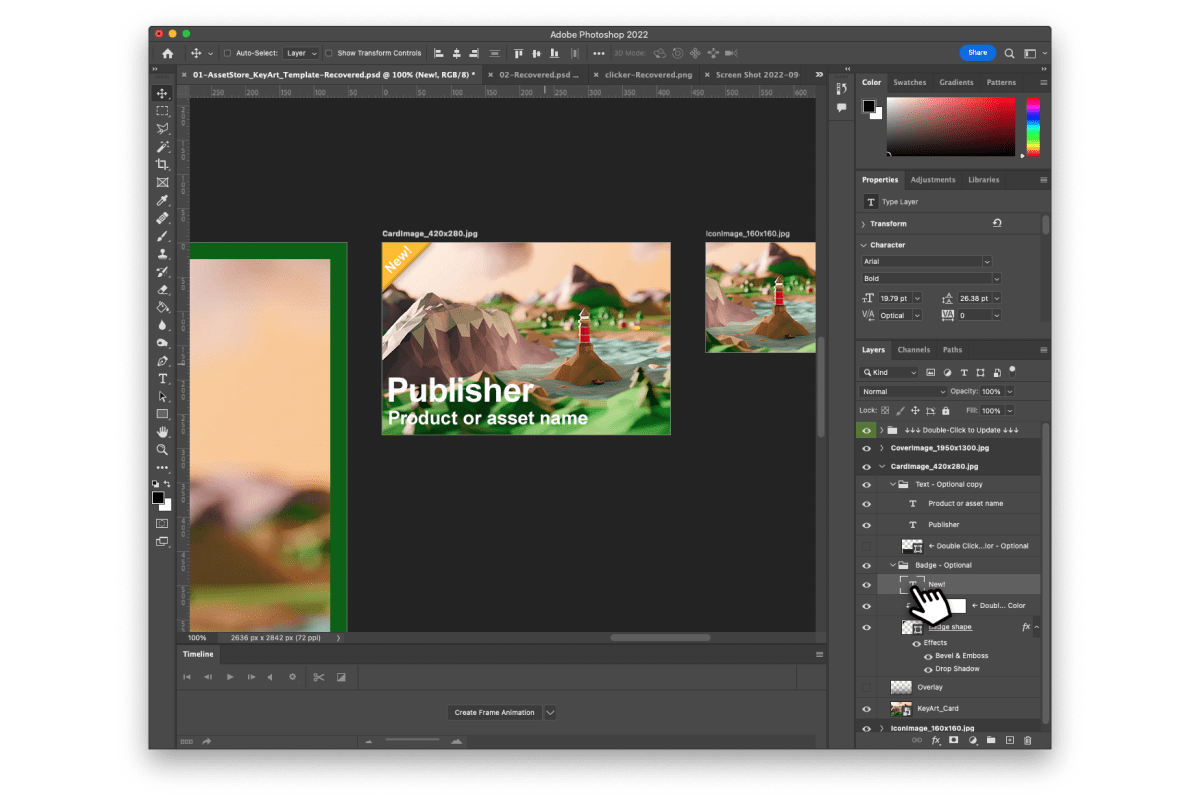
Badge text
To update the text within the badge, Double-click the “T icon” in your layer panel. In this example, we will be updating to “3D”.
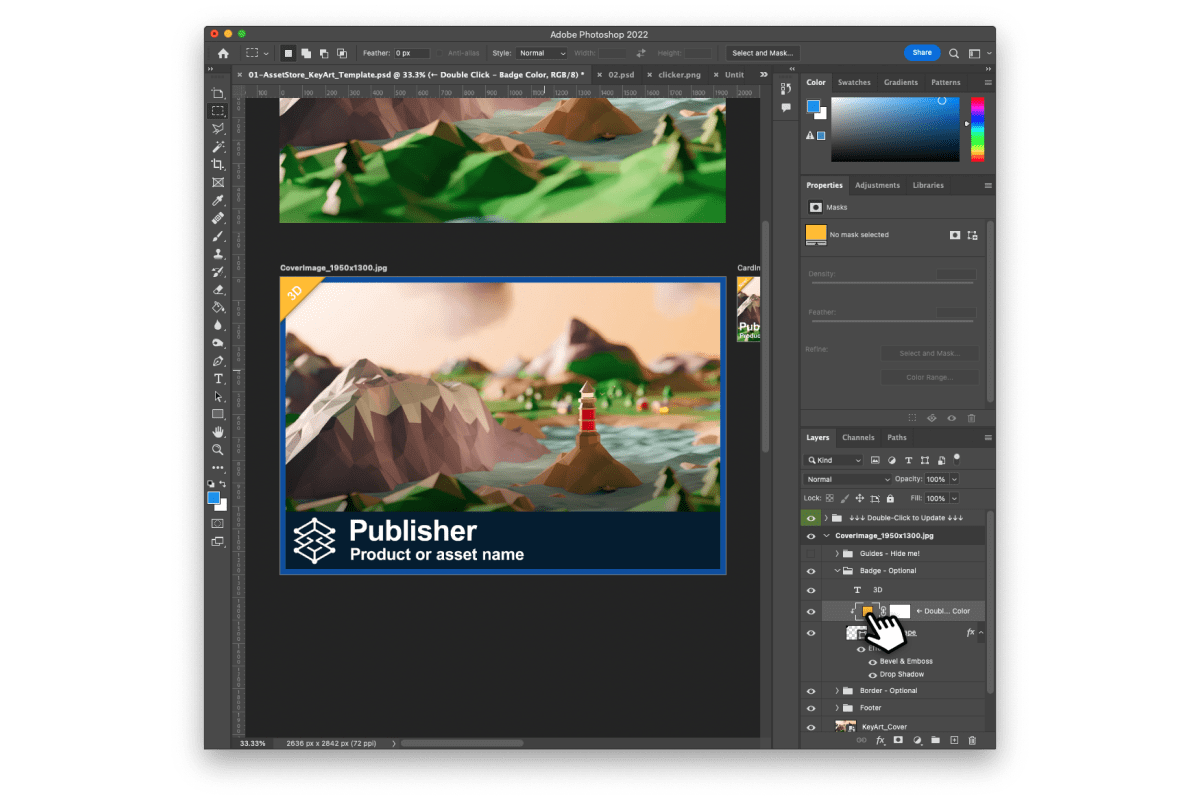
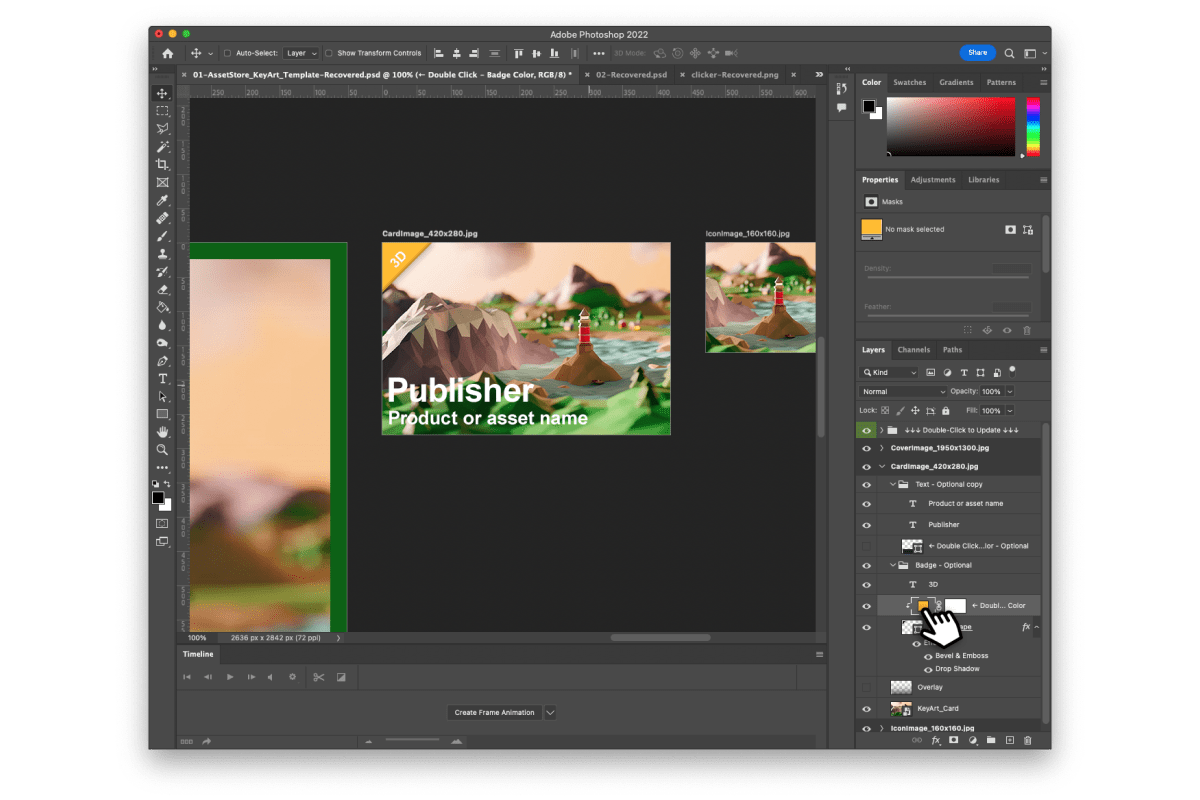
Badge color
To update the badge color, double-click the swatch and use the picker to select your color.
Border
You can hide the border by clicking on the “eye icon” if you choose not to use it.
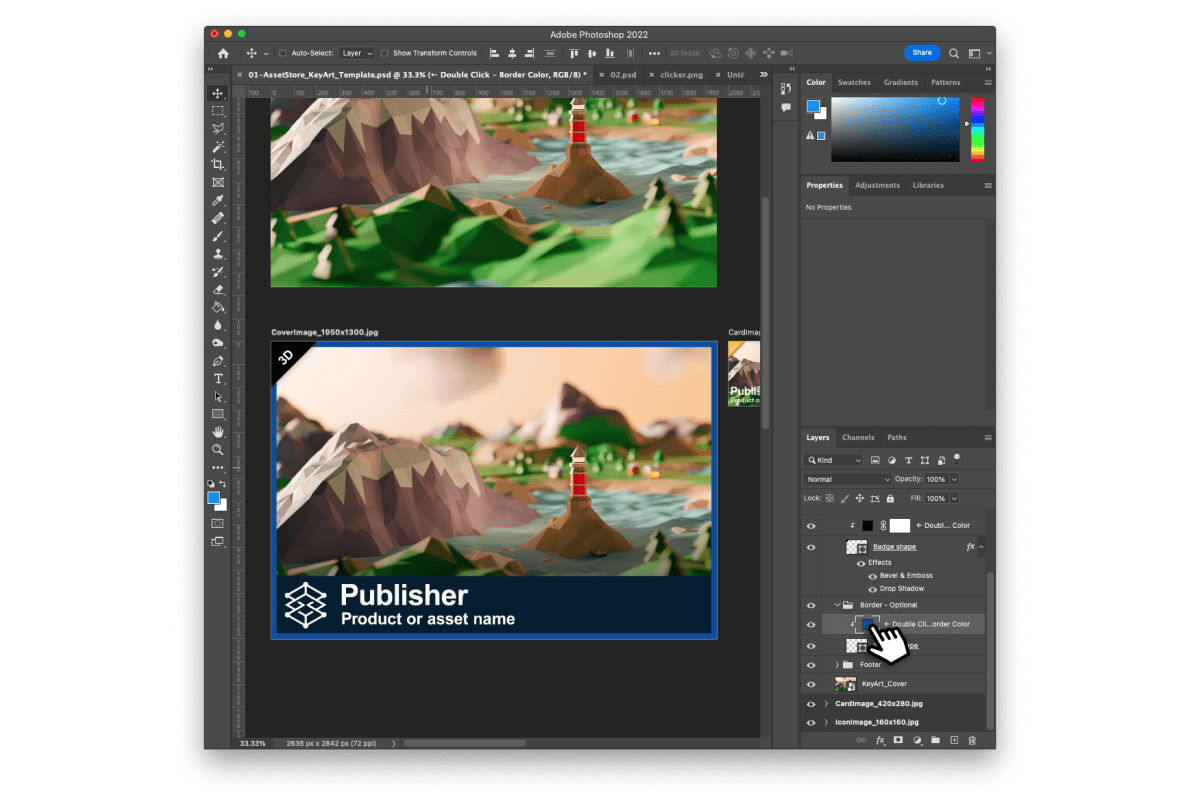
Border color
To update the border color, double-click the swatch and use the picker to select your color.
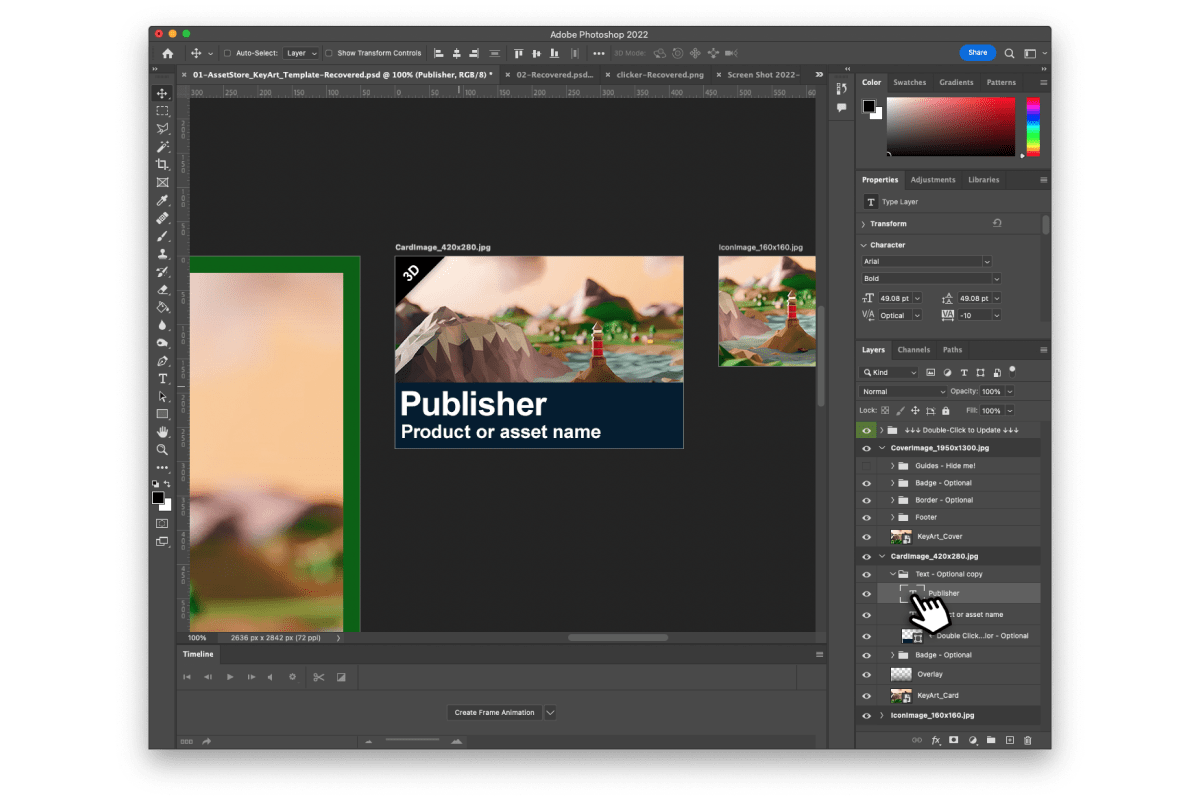
Title and product name
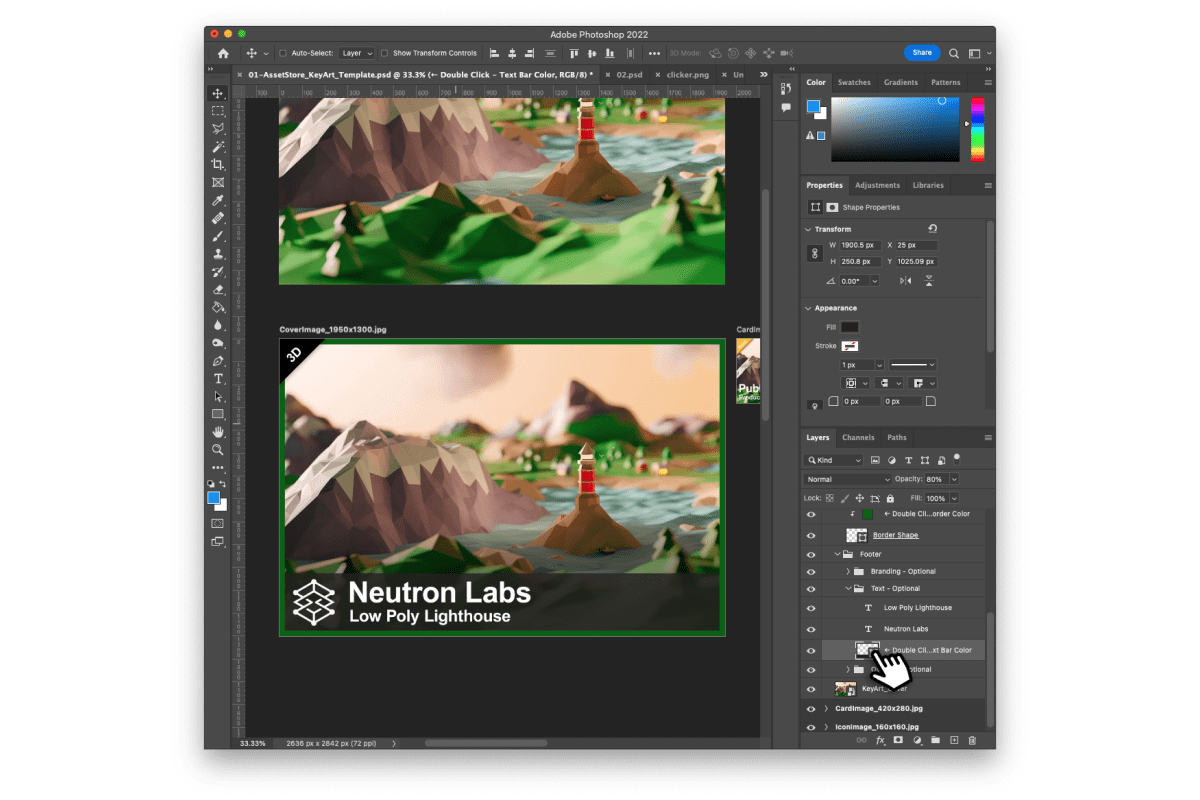
Edit the placeholder text with your publisher name and asset name by double-clicking on the text layer.
Double-click the Text Bar Color layer to update the color and change the opacity. Alternatively, you can use the overlay layer to improve text legibility.
Find the “CardImage_420x280” layer and expand it. Inside the group you’ll find layers for text, optional text background, optional badge, and overlay if you need to improve the legibility of your text. Update these layers as needed.
Customizing your card image

Badge
You can hide the badge by clicking on the “eye icon” if you choose not to use it.
Badge text
To update the text within the badge, double-click the “T icon” in your layer panel. In this example, we will be updating to “3D”.
Badge color
To update the badge color, double-click the swatch and use the picker to select your color.
Title and product name
Edit the placeholder text with your publisher name and asset name by double-clicking on the text layer.
Double-click the Text Bar Color layer to update the color and change the opacity.
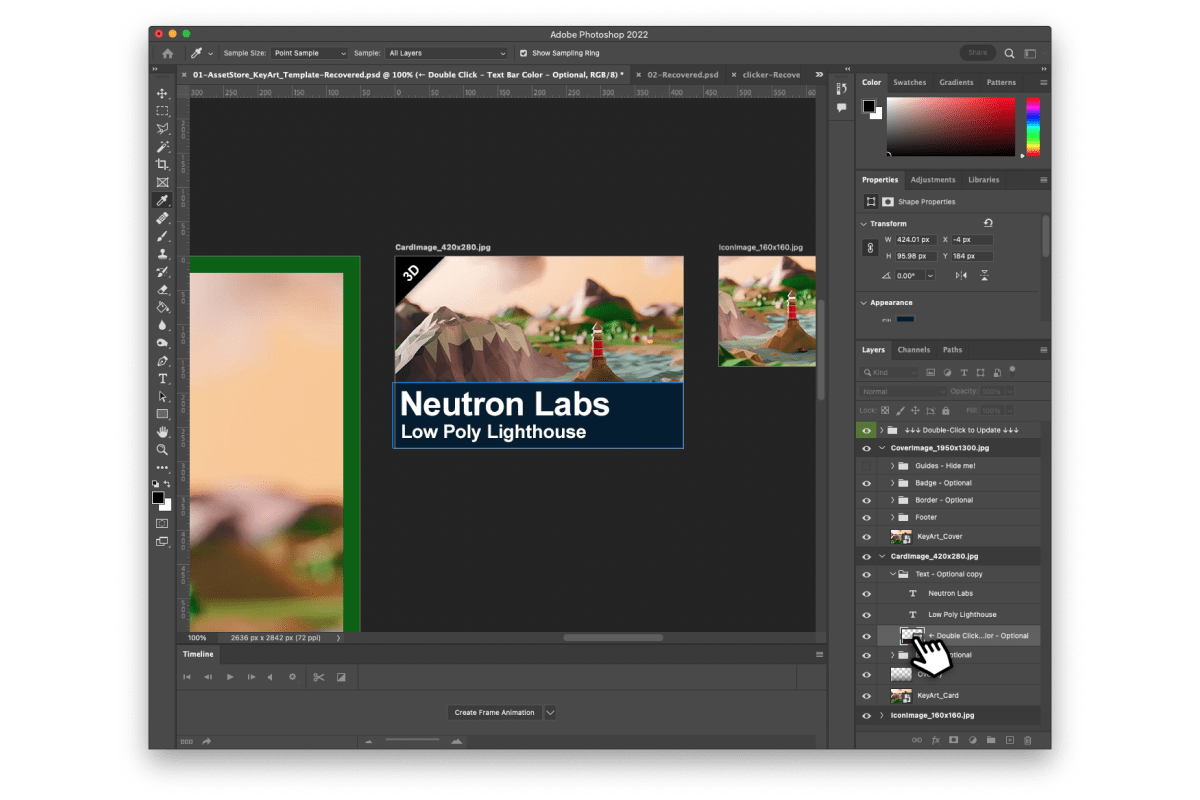
Alternatively, you can use the overlay layer to improve text legibility.
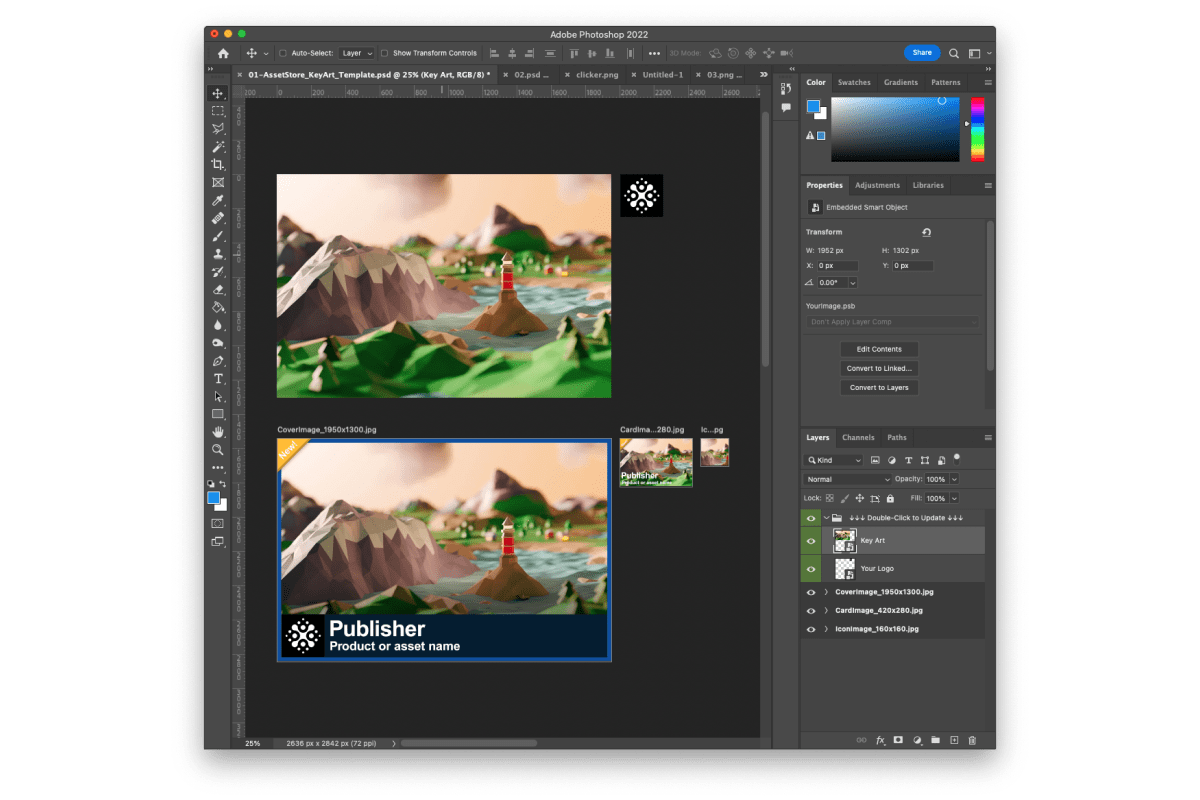
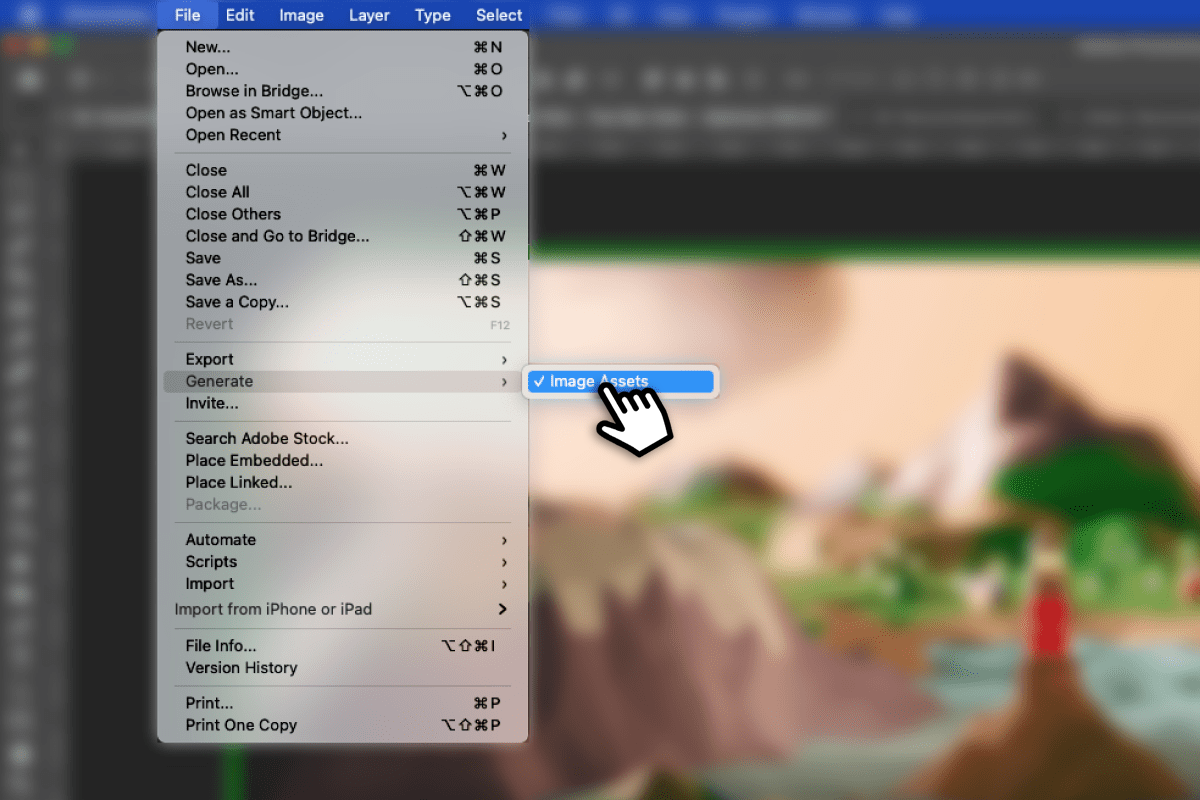
The PSD template is set up in such a way that it will export assets automatically. If you’re unable to find your exported assets, make sure that “Generate Assets” is checked.
Navigate to the location of your PSD on your PC or Mac. A subfolder should have been created with your exported assets.